Settings, section by section
Last updated: 27 August 2026
Settings opens from the icon on Overview or the bottom nav, and covers your account, this device's role, security, and app info — grouped into a few short sections.
Profile & Paxio Pro
The top card shows your name, email, and Free/Pro status (with renewal date, if Pro). Free accounts see a Paxio Pro card right below it — tapping through opens the same pricing screen shown during onboarding.
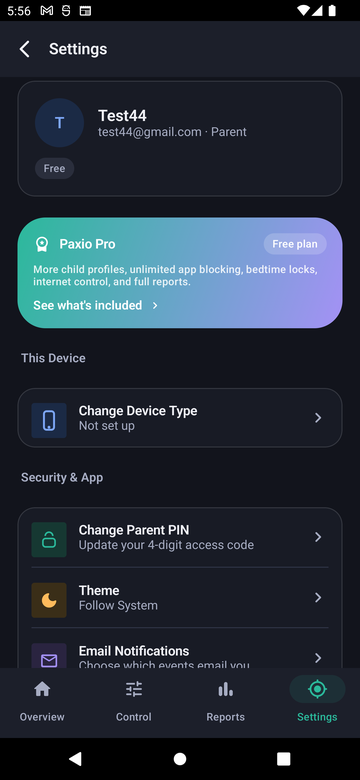
This Device — changing your device type
- Tap "Change Device Type" — its subtitle shows the current role (or "Not set up").
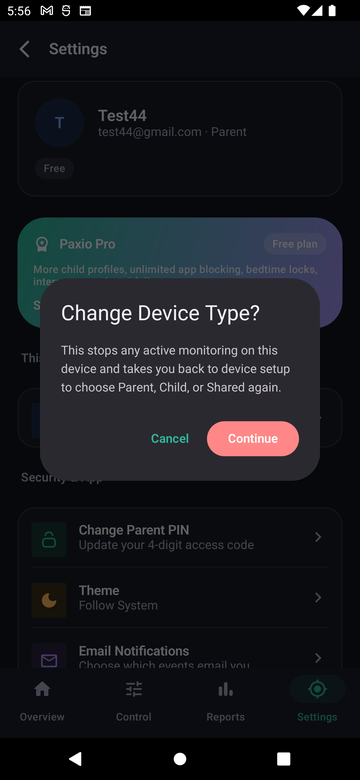
- Tap "Continue" on the warning dialog — this stops any active monitoring on this device.
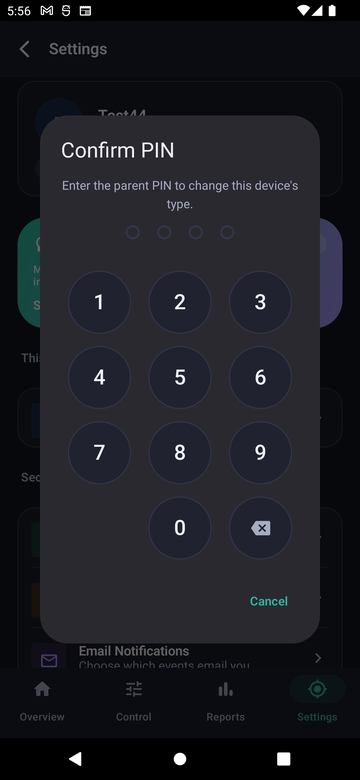
- Enter your parent PIN to confirm.
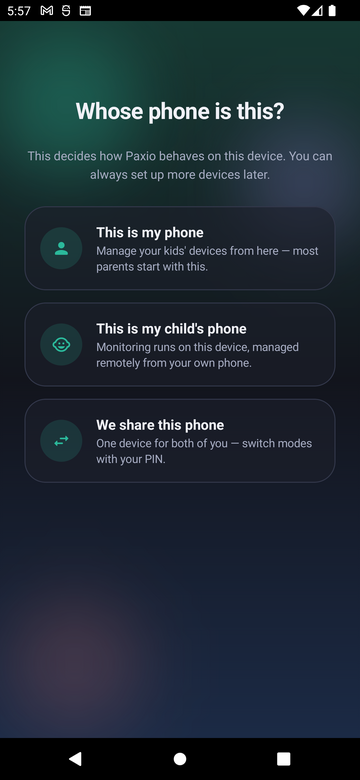
- Pick the new role — "This is my phone," "This is my child's phone," or "We share this phone," same as onboarding.
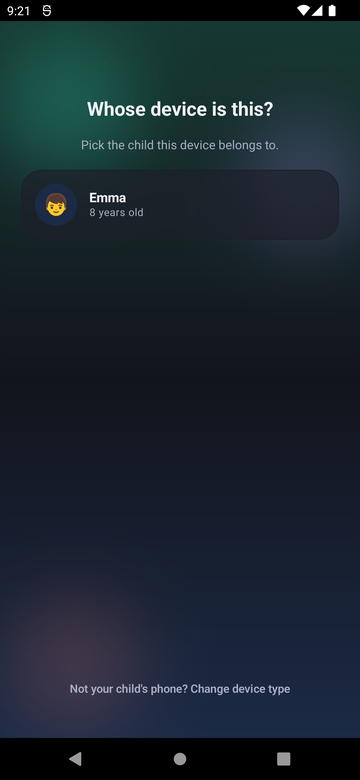
- Choosing "This is my child's phone" then asks which child profile this device belongs to.
Security & App
| Row | What it does |
|---|---|
| Change Parent PIN | Update your 4-digit access code — verifies your current PIN first if one's already set. |
| Theme | Follow System, Light, or Dark. |
| Email Notifications | Choose which events email you. |
Account
Sign Out and Delete Account sit together near the bottom. Signing out just signs out of your Google account. Deleting your account is permanent — see Deleting your account for the full walkthrough.
About
About Paxio shows the version and a short data-handling summary; Privacy Policy and Terms of Service open the same pages linked in this site's footer. The current version number and device-mode label also sit quietly at the very bottom of the screen.